Friday, June 24, 2016
Washi, Washi, Washi - Not Just for Planners
Washi tape - dreamy, thin, often translucent tape in tons of colors and patterns! Use it in your planner. Use it as an alternative to ribbon when wrapping gifts. That's what I did here. And I really like using it this way!
Friday, June 17, 2016
Planners Unite
What do you get when a bunch of planner babes get together to plan? Planner MeetUp! Thanks to the sweet friend who got me interested in planning and who is the leader of our group, this is a wonderful, instant group of friends who share the love of all things planner. Ladies of all ages and backgrounds come together and have fun chatting and decorating planners of all kinds. This is the planner stack from our MeetUp at Michaels. Plan on!
Friday, June 3, 2016
Make A List...
Love to be able to put my To Do list in my planner. All the colors draw the eye and bring me back to what's on my list.
Friday, May 27, 2016
Planning with Cricut
Combining planning with using an electronic Die-cutting machine - ahhhhhh, now that's something to savor over a cup of Joe. Why not?! I printed and cut out these images using my Cricut Explore via the Cricut Design Space free software. Using an Avery shipping label allows you to make a sticker. Print, cut and stick.
Labels:
Cricut Explore,
Happy Planner,
planner,
planner stickers
Friday, May 13, 2016
Planner Happiness
Finding planner happiness is a common mantra among planners. I really enjoy my Happy Planner by Me and My Big Ideas. The cover is what drew me in and the rings make it easy to take things out and add them in. So, who knew I needed a planner? Apparently my planner friend did! She was instrumental in getting me interested and started. And when I discovered that planning is actually a combination of keeping track of a schedule AND papercrafting, stamping, and decorating - well, I was IN. And so it begins...
Saturday, April 2, 2016
Create a GIF
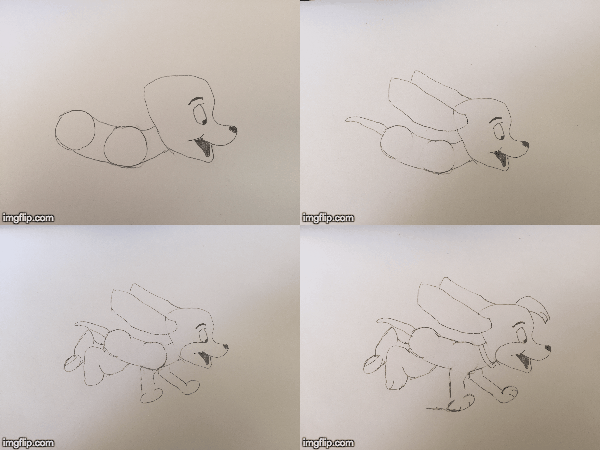
How do you make your very own GIF? It's super easy! Go to www.imgflip.com/gifgenerator and follow the easy instructions. Here's my first one. I must admit I was so excited to make it I hurried through the whole thing ;-)


Monday, March 26, 2012
A Card for the Jinger Adams Design Team Call


This is exciting! I am a Jinger Adams fan and I love having the opportunity to try out for her very first Design Team. I met Jinger a little over a year ago at a Cricut Circle event and she is as sweet in person as she has always seemed to me on TV. I can't wait to see what Jinger has in store for us in her brand new craft line AND in her upcoming shoe line! Click here to check out what Jinger and Theresa, The Scrapbooking Queen are looking for in picking this team.
I'd like to share with you how I made this card 'from the ground up'!
The shoe is made from a black outline shoe sticker which I placed on glittered adhesive white cardstock. Then I colored it in with Copic markers. Here's how I did it.

I started with Soonwang adhesive on matte white cardstock. After peeling off the cover, I put a very generous amount of microfine glitter on the adhesive cardstock and tapped off the excess. I used a plastic container which makes this microfine glitter easy to store and avoids extra clean up.

Next, I burnished (a fancy word for rub) the glitter into the adhesive using the Soonwang waxy cover sheet.

Now that the glitter cardstock is complete, it's time to remove the black outline sticker very carefully from the sticker sheet. I used my fingertip to hold onto the sticker before placing it gently and carefully down onto the glitter cardstock.


Then I placed the Soonwang waxy cover on top of the sticker and burnished again using the end of a Copic marker.

The shoe was now ready to color with Copic markers. I chose the colors based on the card concept and color/type of cardstock that I was going to use for my card. Even after I picked out the Copic markers I was going to use, I was still unsure how I wanted to color in my shoe. So, I did a rough sketch of the shoe and played with coloring to see how the shoe would look- I didn't want to mess up my shoe that I had worked so hard to create!


Now that the shoe was finished, I cut it out and gathered all the cardstock, ribbon and embellishments to make the card.

And here again is the final product! Isn't that shoe just gorgeous?!

This A2 card was made using:
DCWV Blossoms and Butterflies stack
Elizabeth Craft Designs sticker
Sookwang adhesive on matte white cardstock
Crystal Glitter Ritz transparent microfine glitter with warm highlight
Martha Stewart edge punch
Copic markers
American Crafts blue button
white ribbon
pink twine
Scrapbook Adhesives 3D foam squares
glue dots
I have shared this card on my Pinterest gallery and the Two Peas in a Bucket gallery.
I'd like to thank you for stopping by to see my card. A special thank you goes out to Jinger Adams and Theresa, The Scrapbooking Queen for coming by to evaluate my work and many thanks for their kind consideration of me as a possible member of the Design Team. I would love the opportunity to be a part of the fun!
Now go have yourself a very happy crafting day!
Subscribe to:
Posts (Atom)


